Marking Quilting Designs with PnS
![]() Do you use Press 'n Seal to mark your quilting designs? Love it? Hate it? Are somewhere in between? Let me share some tips about how I use it for both machine and hand quilting.
Do you use Press 'n Seal to mark your quilting designs? Love it? Hate it? Are somewhere in between? Let me share some tips about how I use it for both machine and hand quilting.
(Click on any thumbnail for a larger image)
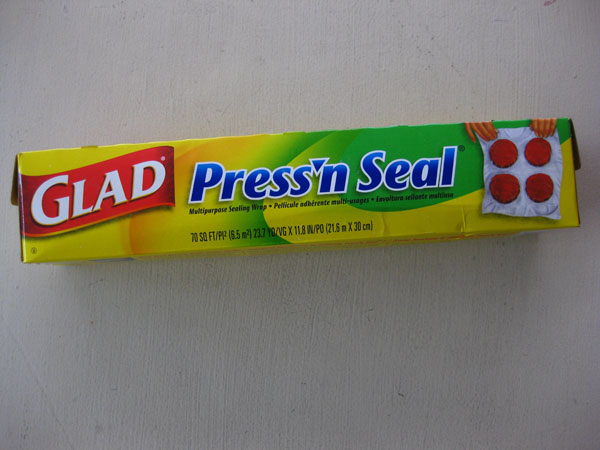 As with any technique, there are pros and cons to using Press 'n Seal (PnS). Among the pros are it's relatively low cost, being able to easily trace the design onto it, and the fact that it sticks like a dream to your fabric. Many quilters simply stitch right through it, both for machine and hand quilting.
Enter the cons. This stuff sticks so good it can be a little difficult to pull off from tiny inside corners. And especially in those places lines from the marker get transfered onto the fabric and require extra cleaning, most often with rubbing alcohol.
I still think this is an amazing product and use it in two ways. Here are my tips:
I. Transferring designs using a pounce pad
In this case, I use PnS as you would normally prepare a plastic stencil.
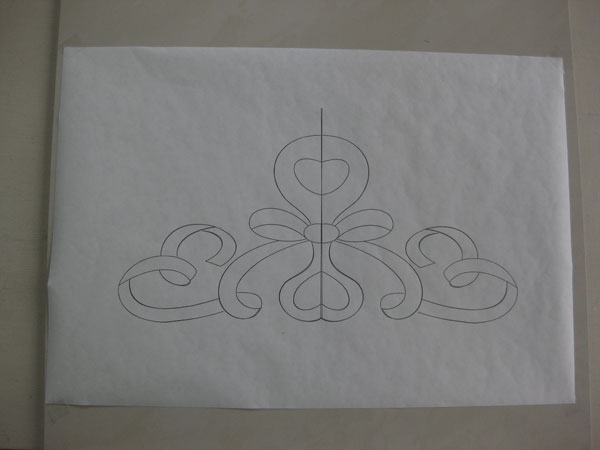
1. Print out your design on regular paper. If you are using a design from a book, you can work directly on the book page.

2. Cover the design to be traced with a piece of PnS. The advantage here is that it will stick to the paper and you won't have to worry about it moving around.
3. Using a permanent marker, trace your placement guides onto the PnS.
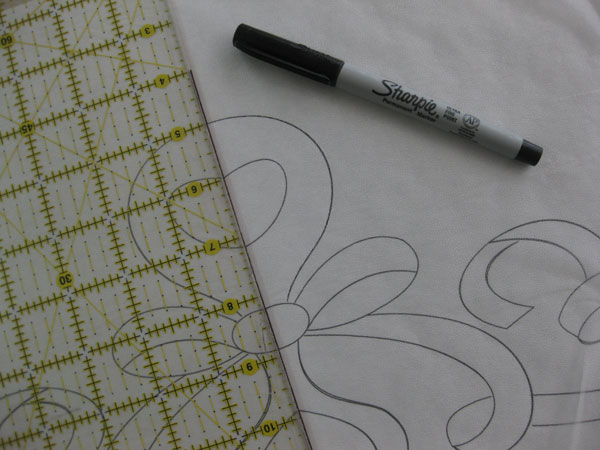
 4. I now use a stencil cutting pen to "trace" the design: touch the tip of the pen lightly (and I stress lightly) about every 1/8" to 1/4" along the tracing line. (Be careful not to hold the tip down too long on the PnS or you will end up with really big holes!) (Alternatively, some people perforate the design on the sewing machine, using an unthreaded needle.)
5. Lift up the PnS and set it down in place on your quilt, using the placement guides to align the position. Smooth it down so it sticks to the fabric.
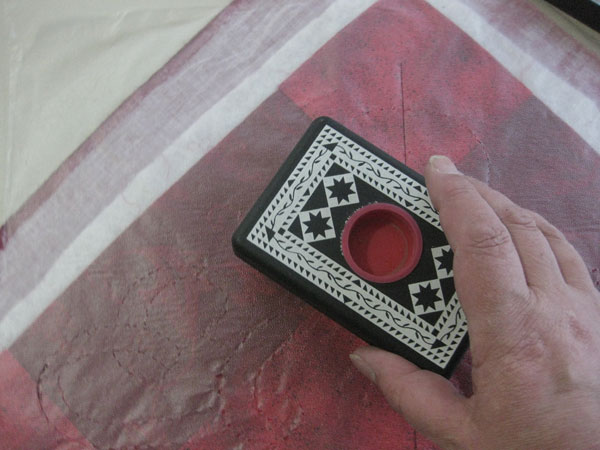
6. Use a pounce pad to transfer the design onto the quilt. White chalk works great for dark fabrics, and light blue can be used on light ones.
 7. Lift off the PnS. The design has been transferred and you can begin to quilt. Note: for hand quilting I will sometimes go over the design again with a wax pencil, particularly if the area to be quilted is rather large and I run the risk of erasing the chalk as I work.
II. Transferring designs by sewing directly through the PnS*
Although the method described above works great in most cases, there are those occasions when neither white nor blue chalk transfer adequately onto a fabric, particularly prints. In those cases, I do sew directly through the PnS. Here's how:
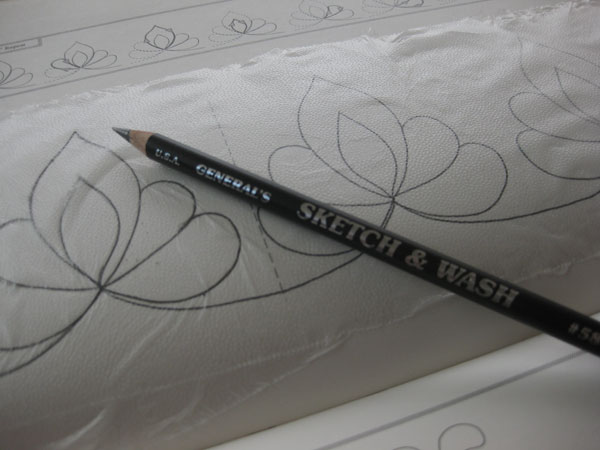 1. Print out your design on regular paper. If you are using a design from a book, you can work directly on the book page. Cover the design to be traced with a piece of PnS. Trace the design... and here's my tip: most people use a marker for this, which sometimes will leave marks on the fabric. I use a General's Sketch & Wash pencil, which will later rub off easily. Don't forget to transfer your placement guides!
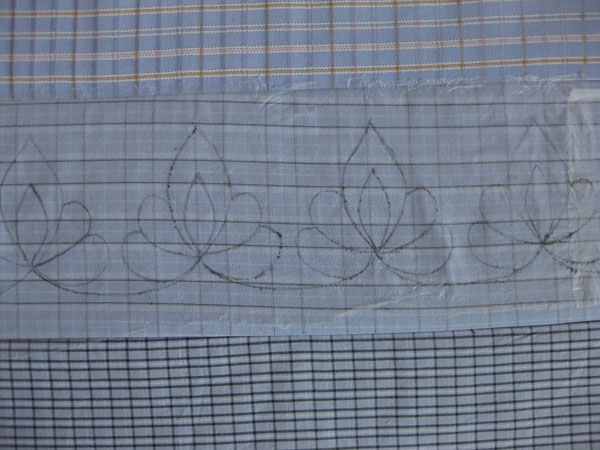
2. Lift up the PnS and set it down in place on your quilt, using the placement guides to align the position. Smooth it down so it sticks to the fabric.
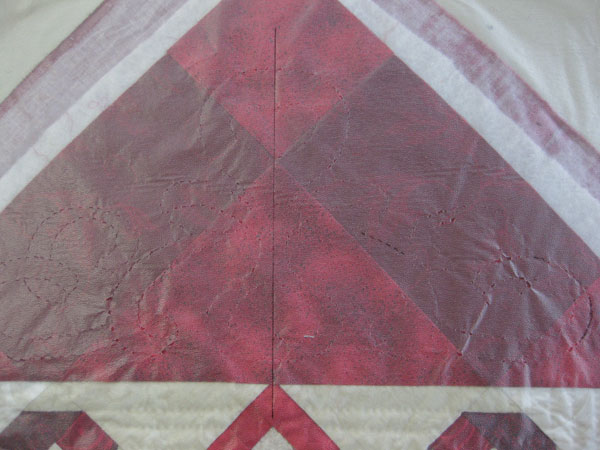
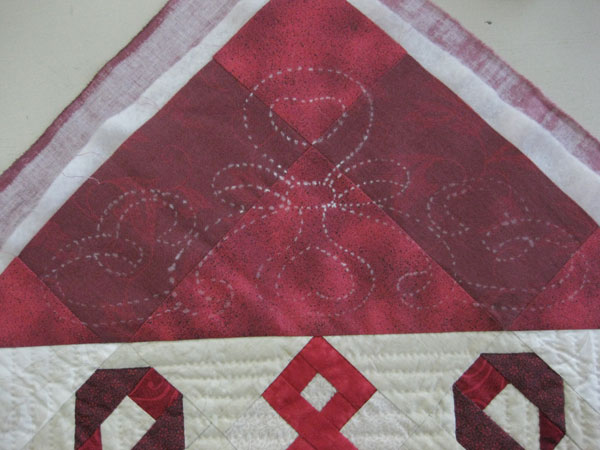
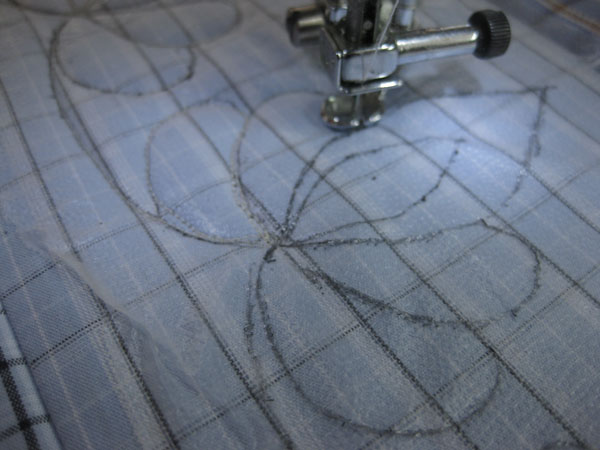
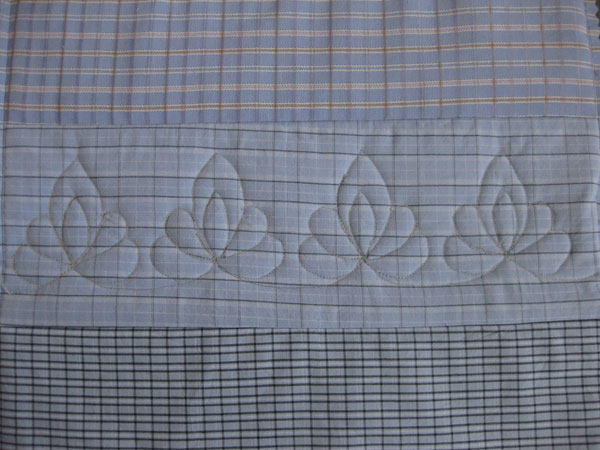
3. Move over to the sewing machine and quilt the design. Just sew through the PnS:
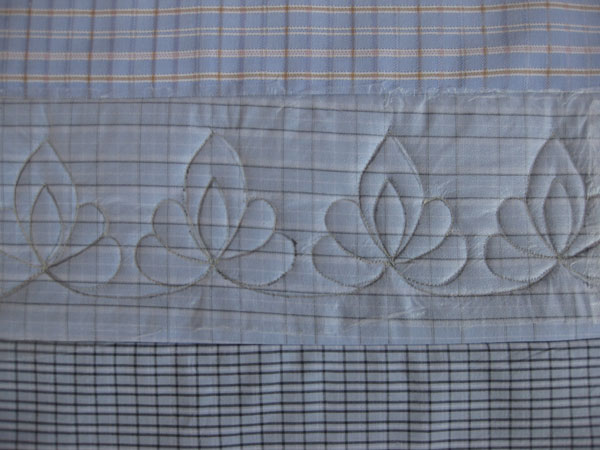
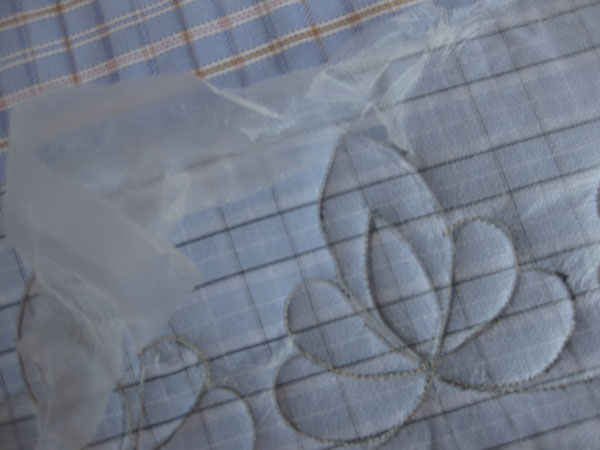
4. Remove the PnS from the outer edges of your quilting design. You will find it rips off easily.
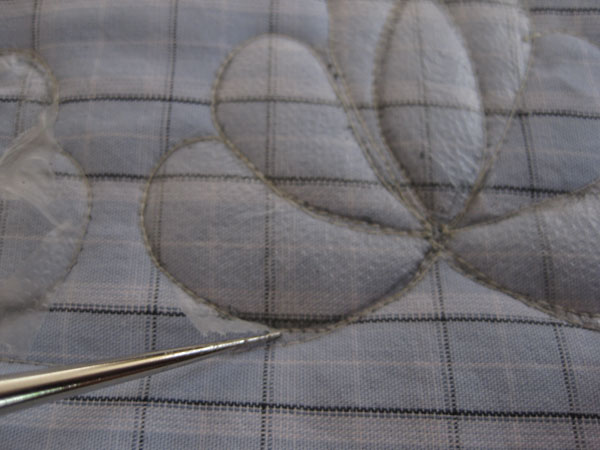
5. Removing the PnS from inside corners is a little more difficult, and the reason why a lot of people do not like to use it. To get all those little pieces of plastic off, however, I use a ball-point stiletto. I ease it under the plastic to be pulled off, run it up along one of the edges to raise if off the stitches and then pull the plastic off... works like a charm. You can also use the tip of a seam ripper. Just make sure you don't rip the fabric accidentally.

6. By using the Sketch 'n Wash pencil and using the ball-point stiletto, I find I have no problems whatsoever with this method!
*I know some people do sew through the PnS while hand quilting, too. I haven't figured out how they do that without ripping out or weakening their stitches. So, for the time being at least, I only use this method for machine quilting.
- Login to post comments
Newest Library Blocks

|

|

|

|