Making Applique Fun!
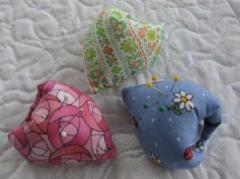
Finger Pincushion
All you need for this practical little pincushion is a small square of fabric, some filling, a tiny bit of sewing.... and you’re set!
- Login to post comments
All you need for this practical little pincushion is a small square of fabric, some filling, a tiny bit of sewing.... and you’re set!


Pincushion
Submitted by Sharon Buford (not verified) on Tue, 2011-12-27 19:33.I made several of your finger pincushions and posted about them on my blog
http://sewn-seabees-crafty-and-vintage-musin.blogspot.com/2011/12/swap-q...