Make a Singleton Button
This fabric-covered button dates back to the late 1600s and originally was tiny, but you can make it as small or as large as you like, depending on your needs. It can be very simple, or you can embellish with embroidery and/or beads, as you like. The original version involves a few more steps that I have left out in this tutorial, for a simplified version that I find works just as well!
Click on thumbnails for a larger image
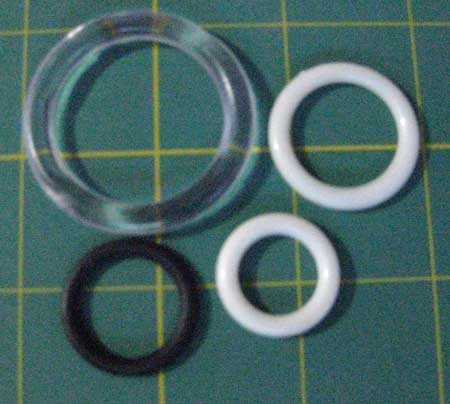
1. For this button you will need a plastic ring - any size you like.
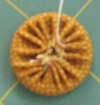
2. Cut a circle of fabric large enough to cover the front of the button, and that will allow the edges to slightly overlap at the center back of the button. With quilting thread, sew a long running stitch 1/8" from the edge. Gather the edges up tightly, whipstitch the edges together, and knot securely.
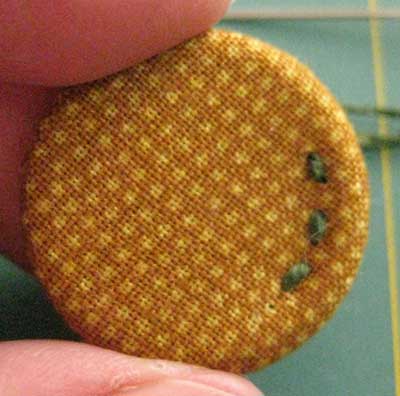
3. With the same thread or a contrasting embroidery thread, back-stitch along the inside edge of the ring.
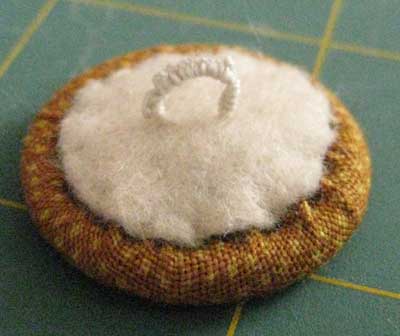
4. Finish the button in the same way as indicated for Making your own Shank Button.
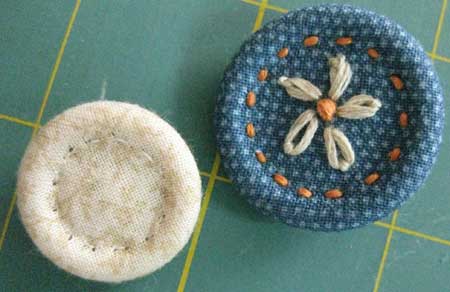
5. You can leave your button plain, or embellish it as much as you like!


Newest Library Blocks

|

|

|

|