Scrap busters
Or otherwise known as what to do with leftovers from quilting projects...
I’m sure you’ve all heard about stash busters – ways to use up your fabric stash to enable you to go out and buy more, right? But a scrap buster?
I work in a somewhat organized disorder (or is that disordered organization?). I have a system to keep my stash under control. Or so I thought. That is, I am able to exercise self-control and keep my quilting fabric stash a reasonable size. What doesn’t seem to be working, however, is my system for storing and using scraps left over from quilting projects.
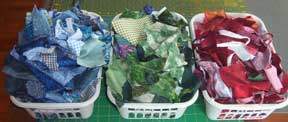
I’ve organized my scraps by color family in small plastic containers. The criterion was that the scraps had to be large enough to use in paper-piecing projects. These days, however, I seem to be doing little paper-piecing. And for appliqué or other types of projects, I find I often go directly to my fabric stash and bypass the scrap baskets altogether. And so, they’ve been growing and overflowing:
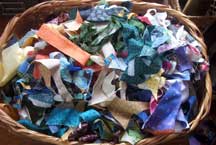
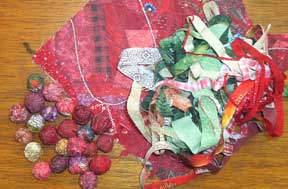
I also found there were teeny tiny bits of fabric, or very odd shaped scraps that couldn’t be used for paper-piecing or appliqué projects. But I couldn’t bring myself to throw them out, either. So I started a larger basket. The justification: these are great scraps for fabric collage. And that’s true. And I do make “new” fabric with them. But apparently not fast enough, because this is what my basket was looking like:
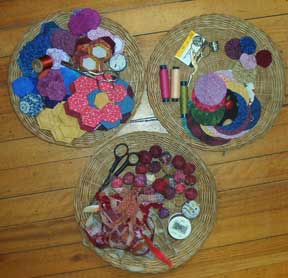
Something had to give. So I’ve started to “scrap bust”. I started with the larger basket, and here are the happy results of this initial endeavor.
I divided my scraps into four categories:
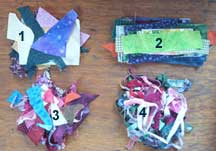
Category I: odd shaped pieces, large enough to cut other pieces out of – about 2 to 3 inches large. These scraps were used for:
- 1 to 1.5” pentagons and hexagons for English Paper Piecing. I was also able to cut several larger pentagons, enough to make a baby ball.
- Different sizes of circles, for yo-yos and freezer paper appliqué circles.
- Leftovers after cutting all these pieces were put into the Category III pile.
Category II: strips wider than 1 inch. I actually left these strips until the end and used some of them as backing for some pieces of jewelry. The rest were cut into squares, sorted by size, and placed in baggies for future (hopefully soon) pieced projects.

Category III: bits that really are so odd-shaped or small I couldn’t cut anything out of them. These scraps were used for fabric collage and round fabric beads.
Category IV: very thin strips, less than 1 inch wide, including selvages. Most of the strips in this category became tubular beads, although some were also used for round beads.
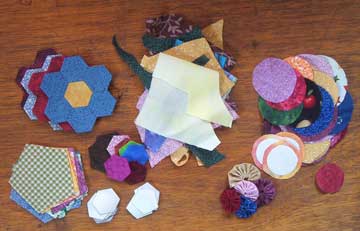
Over a week and a half, and working only evenings, I put together 6 pieces of fabric collage about 18” big, cut tons of circles, pentagons and hexagons, made over 150 round fabric beads and I don’t know how many tubular beads (I didn’t count). Most importantly, I completely cleaned out my basket. Look at the contents now:
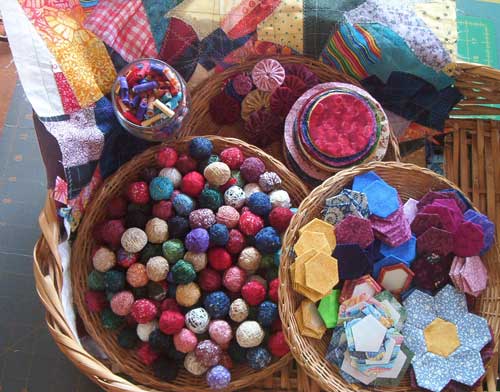
Pretty cool, right?
- Login to post comments
Newest Library Blocks

|

|

|

|