Make Your Own Shank Button
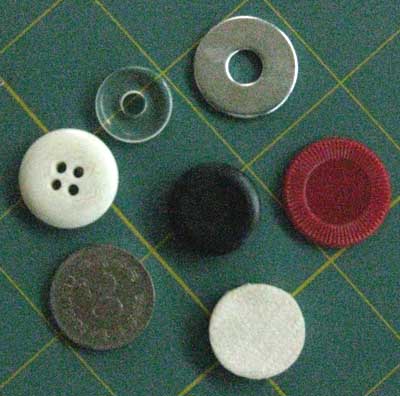
For this button you can use any flat round object. You can use flat buttons from your fabrics stash, washers, coins, bingo game pieces... anything round and flat you have lying around!
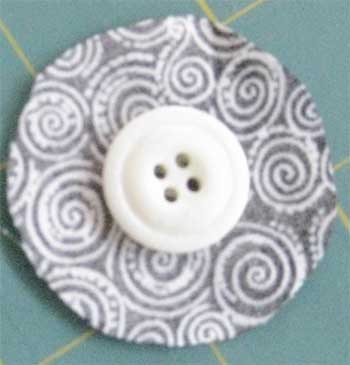
1. Cut a circle of fabric large enough to cover the front of the button, and that will allow the edges to meet at the center back of the button. Note: depending on the object used, you might want to cut a small circle of batting to pad the button. If so, place the batting between the fabric and the round object.
2. Sew a long running stitch 1/8" from the edge.
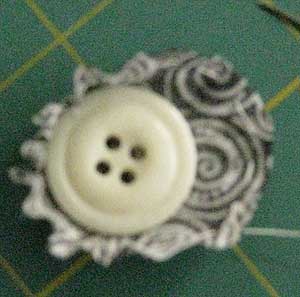
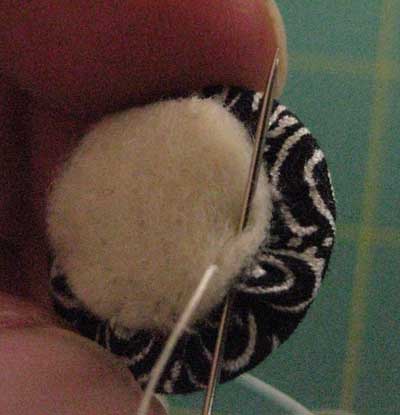
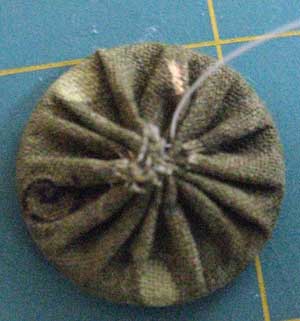
3. Gather the edges up tightly, whipstitch the edges together, and knot securely.
![]()
4. Optional, you can either make the shank directly or, if you are a neat freak like me, cover the back first so you have a neat, clean finish. If you prefer skipping this step, go directly to step
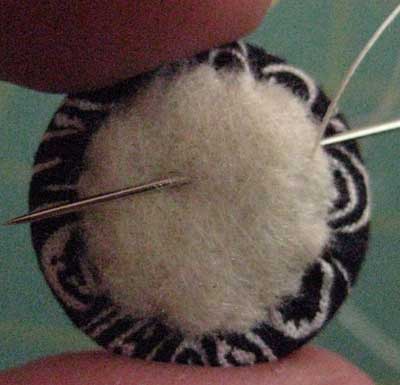
5. Cut a circle of felt smaller than the back of the button, just large enough to cover the raw edges you stitched together earlier. With a long strand of strong thread (i.e. hand quilting thread), whipstitch the felt circle to the button fabric.
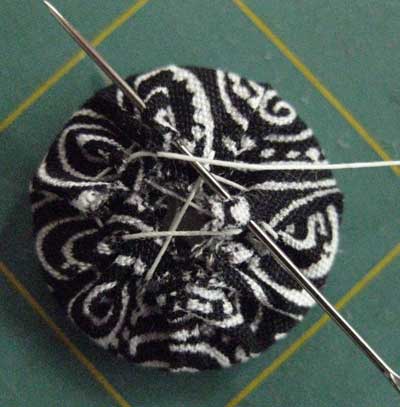
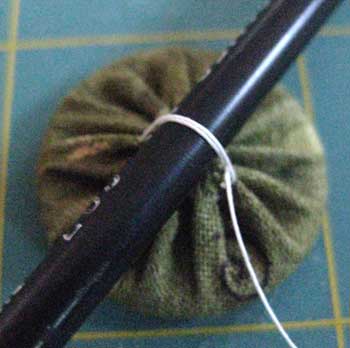
6. Bring your needle up through the back center of the felt (or fabric, if you skipped this step).
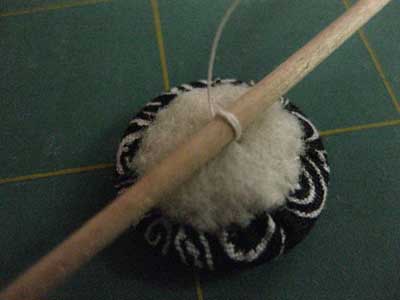
7. Wrap the thread around a round toothpick, through the felt and back up. Repeat this procedures so you have two loops of thread.

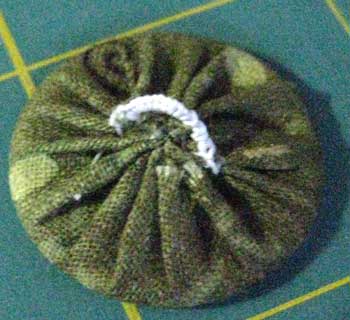
8. Use a blanket stitch to cover the loops of thread, forming the shank - basically what you will be doing is tying the thread repeatedly around the two loops of thread. When you finish, loose the thread inside the felt circle.
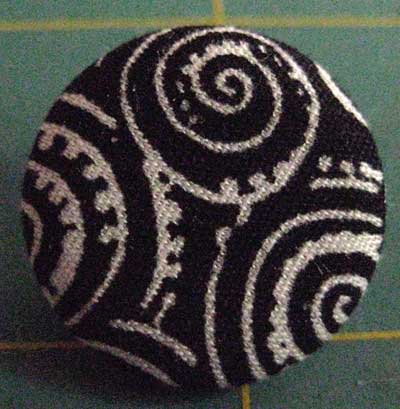
9. And there you go. One elegant button, ready to match your project!
Click on the thumbnails below to see the same process, where the back is not covered:


Newest Library Blocks

|

|

|

|